This short article discusses the MJPEG USB camera simulation in Linux with FFmpeg and a V4L2 loopback device. USB and CSI cameras, alongside GigE Vision cameras, are the main visual data source in robotics and other industrial applications.
They have significant advantages over RTSP cameras:
- low latency;
- simple bulletproof stack;
- zero-configuration;
- cross-camera video synchronization;
- high-FPS options;
- high-bandwidth interface.
USB cameras can deliver video streams in different formats; let us check them on a real camera attached to my laptop:
v4l2-ctl --list-formats
ioctl: VIDIOC_ENUM_FMT
	Type: Video Capture

	[0]: 'MJPG' (Motion-JPEG, compressed)
	[1]: 'YUYV' (YUYV 4:2:2)
In my case, MJPEG is supported and preferred, but other cameras can be different, e.g., official Raspberry Pi cameras support H264 streaming. However, for our needs, it does not matter.
We want to emulate the camera when we have a video file or stream that we want to play for a 3rd-party application working with the camera. There are two options for that:
- hardware capturing device;
- video loop device.
Hardware device allows capturing the feed from a 3rd-party HDMI and accessing it with a USB-cam-like interface:
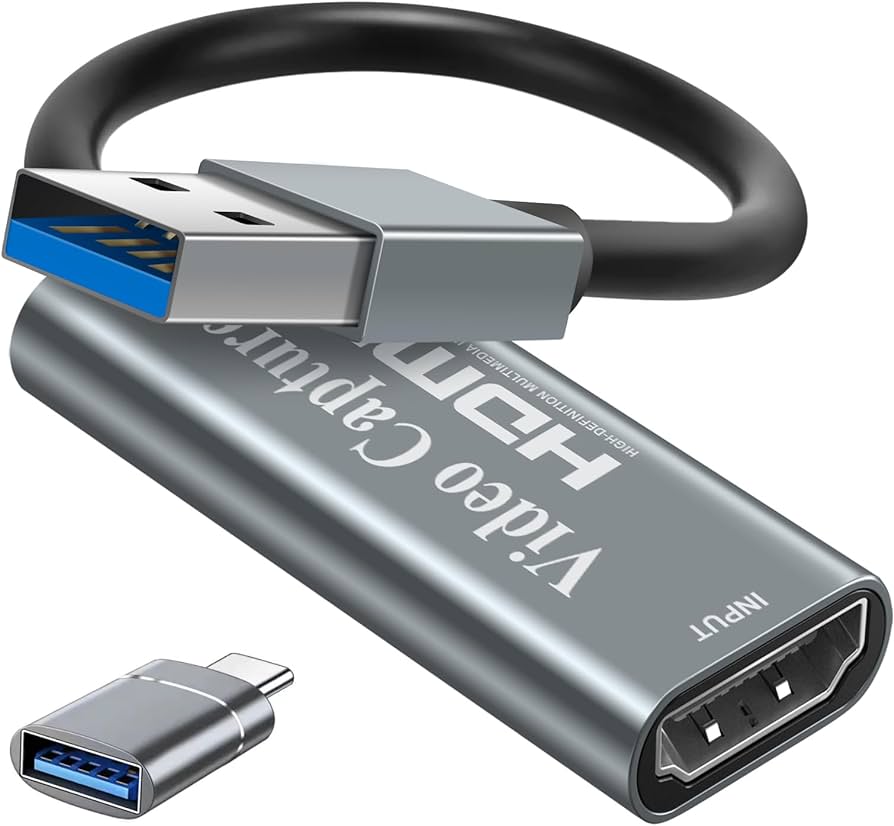
This is a great option when you cannot afford additional workload on the same device (because emulation creates CPU load, which can negatively impact the running software).
Another option is to use software-emulated USB cameras with a virtual video loop device. In the remaining part of the article, we will learn how to use it in Linux.
We will emulate a camera serving the MJPEG stream. MJPEG is very convenient because it is a low-latency, compressed format, which can be decoded in hardware on Nvidia Jetson with their NVJPEG ASIC.
Why not H264/HEVC
If you do not worry about processing latency, you can use H264 or HEVC formats with your emulated device, but hardware accelerated decoders like NVDEC buffers several frames before decoding so the latency is significantly higher than when working with MJPEG or raw RGB.
Creating The Device
To create the device, we will use the modprobe command:
sudo modprobe v4l2loopback video_nr=6 \
     card_label="Virtual Camera" \
     exclusive_caps=1
This command will create a device /dev/video6 which can be used to emulate the video stream. Now we can check what formats the emulated camera supports:
v4l2-ctl --list-formats -d /dev/video6
ioctl: VIDIOC_ENUM_FMT
	Type: Video Capture
It turns out it supports no formats. This is OK because the device supports the formats you deliver into it.
Preparing The Video
Let us generate the MJPEG file for the live source emulation. We do not want to do this transcoding online because it is CPU-intensive and affects the board’s performance. Thus, we generate the file in the MJPEG format to serve it later without the transcoding:
ffmpeg -i test.mp4 -vcodec mjpeg -qscale 1 -an test.aviStreaming
After the transcoding completion, we are ready to serve the stream; use the following command:
ffmpeg -re -stream_loop -1 -i test.avi -c:v copy -f v4l2 /dev/video6FFmpeg must work normally, without errors, and do not introduce any load on the CPU (check it with top or htop commands).
Now, you can play the video from the loopback device with your favorite player:
ffplay /dev/video6